Skill Development Course - NodeJs Lab Manual - (LAB PROGRAMS)
Aim:
☛ Create a TODO application in react with necessary components and deploy it into github.
Solution :
Step 1: Set Up the Project
Our first task is to set up the React project. This step involves creating the necessary project structure. Here's how you can do it:
1. Create a React App:
Open your terminal and navigate to your preferred directory. Run the following command to generate a new React app. Replace "todo-app" with your desired project name:
npx create-react-app todo-app
This command will create a directory named "todo-app" with all the initial code required for a React app.
2. Navigate to the Project Directory:
Change your working directory to the "todo-app" folder:
cd todo-app
3. Start the Development Server:
Launch the development server with the following command:
npm start
This will open your React app, and you’ll see the default React starter page in your web browser at 'http://localhost:3000'.
Step 2: Create the App Component
In this step, we create the App component, which serves as the entry point to our Todo List application.
import React from'react';

import TodoList from'./components/TodoList';

function App() {

return (

<div className="App">

<TodoList />

</div>

 );

}

exportdefault App;
Step 3: Create the TodoList
src->Component
Now, let's create the 'TodoList' component, which is responsible for managing the list of tasks and handling task-related functionality.
import React, { useState } from 'react';

import TodoItem from './TodoItem';


function TodoList() {

const [tasks, setTasks] = useState([

 {

id: 1,

text: 'Doctor Appointment',

completed: true

 },

 {

id: 2,

text: 'Meeting at School',

completed: false

 }

 ]);


const [text, setText] = useState('');

function addTask(text) {

const newTask = {

id: Date.now(),

 text,

completed: false

 };

 setTasks([tasks, newTask]);

 setText('');

 }

function deleteTask(id) {

 setTasks(tasks.filter(task => task.id !== id));

 }

function toggleCompleted(id) {

 setTasks(tasks.map(task => {

if (task.id === id) {

return {task, completed: !task.completed};

 } else {

return task;

 }

 }));

 }

return (

<div className="todo-list">

 {tasks.map(task => (

<TodoItem

 key={task.id}

 task={task}

 deleteTask={deleteTask}

 toggleCompleted={toggleCompleted}

 />

 ))}

<input

 value={text}

 onChange={e => setText(e.target.value)}

 />

<button onClick={() => addTask(text)}>Add</button>

</div>

 );

}

exportdefault TodoList;
Step 4: Create the place the TodoItem in
src->Component
In this step, we create the 'TodoItem' component, which represents an individual task in our Todo List.
import React from'react';

function TodoItem({ task, deleteTask, toggleCompleted }) {

function handleChange() {

 toggleCompleted(task.id);

 }


return (

<div className="todo-item">

<input

 type="checkbox"

 checked={task.completed}

 onChange={handleChange}

 />

<p>{task.text}</p>

<button onClick={() => deleteTask(task.id)}>

 X

</button>

</div>

 );

}

exportdefault TodoItem;
These three components, 'App', 'TodoList', and 'TodoItem', work together to create a functional Todo List application in React. The 'TodoList' component manages the state of the tasks, and the 'TodoItem' component represents and handles individual tasks within the list.
Step 5: Styling
To enhance the visual appeal of your Todo List, you can apply some basic styling. Here’s an example of how you can style the todo items. In the `App.css` file, add the following styles:
.todo-item {

display: flex;

justify-content: space-between;

margin-bottom: 8px;

}

.todo-itemp {

color: #888;

text-decoration: line-through;

}
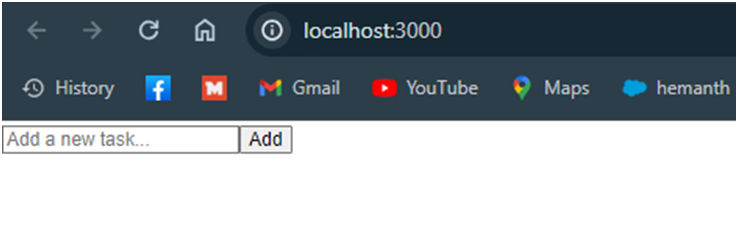
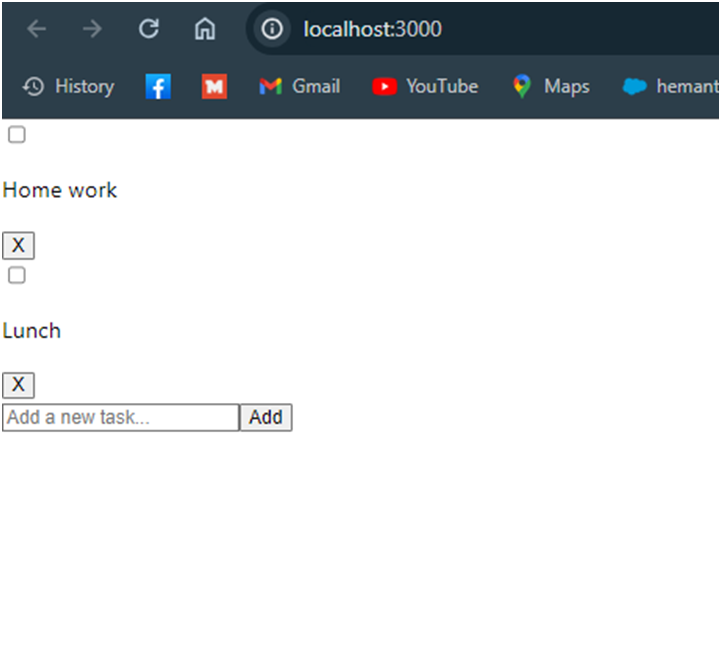
Your output should look like this:
Output :
Initially it looks like:

Next,

Related Content :
Skill Development Course - NodeJs Lab Programs
1) Build a responsive web application for shopping cart with registration, login, catalog and cart pages using CSS3 features, flex and grid. View Solution
2) Use JavaScript for doing client – side validation of the pages implemented in the experiment View Solution
3) Explore the features of ES6 like arrow functions, callbacks, promises, async/await. Implement an application for reading the weather information from openweathermap.org and display the information in the form of a graph on the web page. View Solution
4) Develop a java stand alone application that connects with the database (Oracle / mySql) and perform the CRUD operation on the database tables. View Solution
5) Create an xml for the bookstore. Validate the same using both DTD and XSD. View Solution
6) Create a custom server using http module and explore the other modules of Node JS like OS, path, event. View Solution
7) Develop an express web application that can interact with REST API to perform CRUD operations on student data. (Use Postman) View Solution
8) Create a service in react that fetches the weather information from open weathermap.org and the display the current and historical weather information using graphical representation using chart.js View Solution
9) Create a TODO application in react with necessary components and deploy it into github. View Solution