Create a custom server using http module and explore the other modules of Node JS like OS, path, event.
Step 1: Set Up the Project
Our first task is to set up the React project. This step involves creating the necessary project structure. Here's how you can do it:
1. Create a React App:
Open your terminal and navigate to your preferred directory. Run the following command to generate a new React app. Replace "todo-app" with your desired project name:
npx create-react-app todo-app
This command will create a directory named "todo-app" with all the initial code required for a React app.
2. Navigate to the Project Directory:
Change your working directory to the "todo-app" folder:
cd todo-app
3. Start the Development Server:
Launch the development server with the following command:
npm start
This will open your React app, and you’ll see the default React starter page in your web browser at 'http://localhost:3000'.
Step 2: Create the App Component
In this step, we create the App component, which serves as the entry point to our Todo List application.
import React from'react';

import TodoList from'./components/TodoList';

function App() {

return (

<div className="App">

<TodoList />

</div>

 );

}

exportdefault App;
Step 3: Create the TodoList
src->Component
Now, let's create the 'TodoList' component, which is responsible for managing the list of tasks and handling task-related functionality.
import React, { useState } from 'react';

import TodoItem from './TodoItem';


function TodoList() {

const [tasks, setTasks] = useState([

 {

id: 1,

text: 'Doctor Appointment',

completed: true

 },

 {

id: 2,

text: 'Meeting at School',

completed: false

 }

 ]);


const [text, setText] = useState('');

function addTask(text) {

const newTask = {

id: Date.now(),

 text,

completed: false

 };

 setTasks([tasks, newTask]);

 setText('');

 }

function deleteTask(id) {

 setTasks(tasks.filter(task => task.id !== id));

 }

function toggleCompleted(id) {

 setTasks(tasks.map(task => {

if (task.id === id) {

return {task, completed: !task.completed};

 } else {

return task;

 }

 }));

 }

return (

<div className="todo-list">

 {tasks.map(task => (

<TodoItem

 key={task.id}

 task={task}

 deleteTask={deleteTask}

 toggleCompleted={toggleCompleted}

 />

 ))}

<input

 value={text}

 onChange={e => setText(e.target.value)}

 />

<button onClick={() => addTask(text)}>Add</button>

</div>

 );

}

exportdefault TodoList;
Step 4: Create the place the TodoItem in
src->Component
In this step, we create the 'TodoItem' component, which represents an individual task in our Todo List.
import React from'react';

function TodoItem({ task, deleteTask, toggleCompleted }) {

function handleChange() {

 toggleCompleted(task.id);

 }


return (

<div className="todo-item">

<input

 type="checkbox"

 checked={task.completed}

 onChange={handleChange}

 />

<p>{task.text}</p>

<button onClick={() => deleteTask(task.id)}>

 X

</button>

</div>

 );

}

exportdefault TodoItem;
These three components, 'App', 'TodoList', and 'TodoItem', work together to create a functional Todo List application in React. The 'TodoList' component manages the state of the tasks, and the 'TodoItem' component represents and handles individual tasks within the list.
Step 5: Styling
To enhance the visual appeal of your Todo List, you can apply some basic styling. Here’s an example of how you can style the todo items. In the `App.css` file, add the following styles:
.todo-item {

display: flex;

justify-content: space-between;

margin-bottom: 8px;

}

.todo-itemp {

color: #888;

text-decoration: line-through;

}
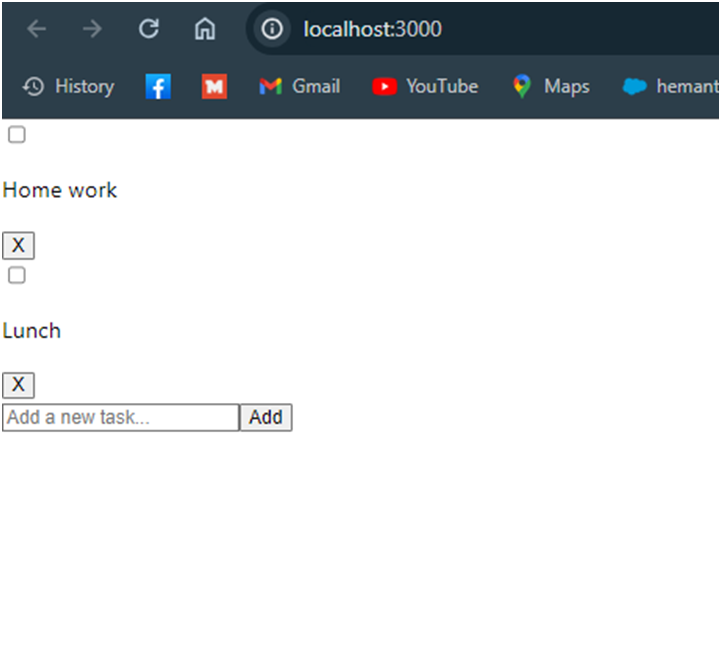
Your output should look like this:
Output :
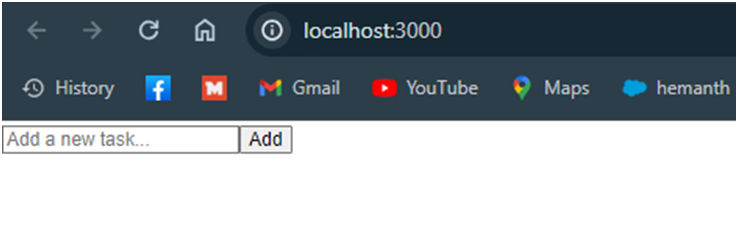
Initially it looks like:
Next,